Halo Boss Fights on Legendary
Introduction:
Being that I have basically spent the last few weeks playing the hell out of the “campaign” (the built in story) of the game Halo Infinite, at the highest possible level (“Legendary”), despite the date being 2025, I’d like to document some of my experiences out of sheer exasperation!
For background, back in the 1990s, I was a very big fan of Marathon, the game that Bungie, the company that produced the original Halo games, created before Halo. Doom-like, but alien in a weird and entertaining way.
And as a Linux and/or Macintosh enthusiast, I did not play games on the Windows platform.
So, my exposure to the original game, Halo (Combat Evolved), was very limited. I absolutely loved the game, but refused to play on the Windows platform, because I felt that Microsoft was a terrible company, who were doing their best to destroy Apple Computers, AND were trying to make the nascent Internet and World Wide Web mediocre, through their “embrace and extend” strategy, where they would, on paper, support open standards, but in fact they’d add new features to these standards and then keep them proprietary, forcing customers to stay on Windows. And frankly, Apple was no better, just less successful, in many ways, but I was in love with Apple and the Internet, and wanted them to succeed.
So I had fond memories of the original Halo, but never played it to the end and never played any of its sequels, at least until Halo Infinite was released in 2021.
Having recently retired in 2019, I decided I wanted to learn how to fly computer-based flight simulators using virtual reality (VR), and of course, the Microsoft wars were long over by that time, and gaming had been virtually commandeered by Microsoft. I suppressed my gag reflex, bought a top-class gaming PC from Alienware (Dell), with an Intel i9 processor, 64 gigabytes of memory and 3 TB of SD storage, and the most powerful graphics processor available, the Nvidia 4090, and went to town.
It happens that many of the games for the PC were being made available using Steam, which appealed to me as Steam was the most multi-platform game system out there, and lo and behold, most of the original Halo games, Halo (Combat Evolved) to Halo Reach, were available on Steam as the “Master Chief Collection”, and so was the most recent member of the franchise, Halo Infinite. And being a fan of technology, I decided to go with the latest and greatest, so I started with Halo Infinite. And I was impressed. I knew that Bungie no longer owned the Halo franchise, and that the replacement company, 343 Industries, had a “checkered” record with it, but I took to Infinite like a duck in a truck (is that a thing?). The game has four possible levels to play at: Easy, Normal, Heroic, and Legendary. Having a touch of the macho, I ignored the Easy level (more on that later) and finished the campaign in both Normal and Heroic levels.
It was beautiful, it was fast, it was easy to play, it was terribly fun! An entire “open world” to explore, bad guys to fight, a lovely and innocent AI companion to play with, all was well!
Then, I wanted to do it one more time, and seriously: play the whole thing through, boss fights and all, at the “Legendary” level, AND find and retrieve all 12 of the “Skulls” (more on that later).
I loved it all, except the “boss fights”, that is, the conflicts at the end of each mission where the fight is basically limited to a single locked room with a VERY powerful enemy. God I hate those things. I am incredibly competitive, so much so that I avoid conflict fanatically if I can’t win. The boss fights force me to fight at a disadvantage, and drive me crazy. And so, with all the time I’ve put into those fights, at the Legendary level, I’d like to talk about how I finally beat the damn things.
MAJOR SPOILERS!
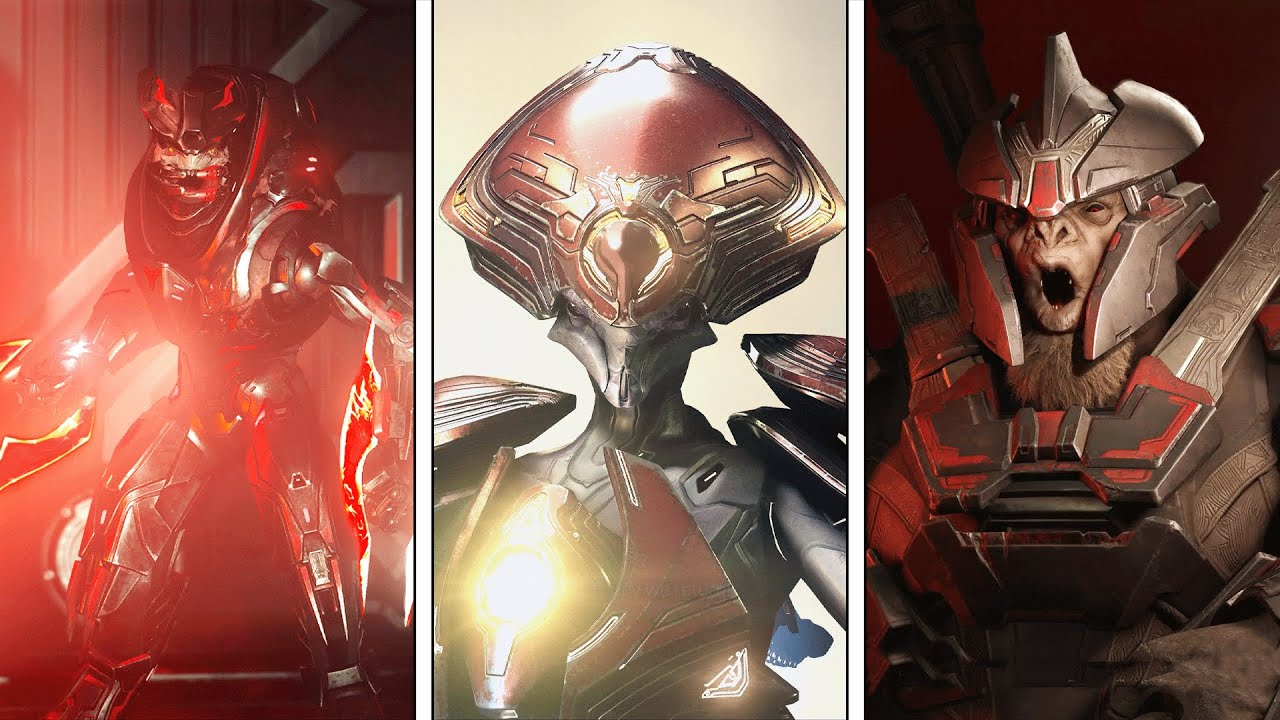
Fight 1: Tremonius
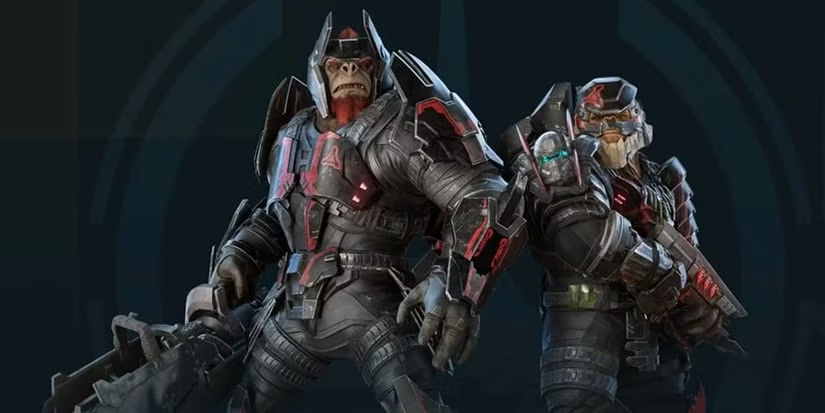
Tremonius is a “general” in the army of “bad” aliens, the Banished. You encounter him at the end of the first mission, when you are trying to escape your space ship. He is a “brute chieftain”, one of the large, ape-like aliens who like to eat human flesh (this is never shown, thankfully!). As a “chieftain”, he is augmented, being both stronger than usual and having a “shield” (as my character also has) that is difficult to penetrate with bullets and other non-energy weapons. He also has the support of two augmented “jackals”, who are also equipped with shields and long-range weapons. The “jackals” are a different type of alien, basically mercenaries, and usually used as snipers. These are more powerful jackals, but not too difficult to deal with, at least one at a time!
After a few go-throughs, I managed to beat him. Firstly, from an earlier part of the mission, I came upon a “Skewer”, a hand-held electromagnetic cannon that is normally used to destroy vehicles in the game. The “Skewer” is one of a class of “Power” weapons that can generally not be reloaded in the early missions of the game; if you find one, you can only use it until it is depleted, and they have very limited ammo.. You can only carry two weapons at a time, which meant that I had to keep my 2nd weapon unused once I picked up the Skewer, at least until I got to the room for Tremonius. Once there, I dropped the Skewer and picked up other, more easily reloaded weapons, until I had cleared the room for the boss fight, and then retrieved the Skewer.
My second strategy was one that I picked up from a Youtube video meant for dealing with the next boss, Chak ’Lok. In the game you find many “batteries” of various types, which can be hurled at a foe like a grenade, or fired upon to kill nearby enemies. This is a bit two-sided, as they can also kill you if you are near them or holding them when they explode! I went through the battlefield room I had previously cleared out, picked up all the “batteries” I could find, and placed them at a choke point, a place where the bad guys had no room to maneuver. Then, once the fight started, I ran like hell to get past the choke point before Tremonius did, then picked off the two jackals, who were forced to come to me one at a time through the narrowed passage, being careful not to shoot into the pile of batteries. Then, when Tremonius arrived, I blew the batteries, which blew off most of his shielding in a single large explosion, I then ran, peppering the brute with a “Plasma Carbine” (a common weapon) in order to keep his shields from restarting, and with my small store of grenades, while keeping a distance using my “grapple”, a metal tether that I can use to move more quickly for a short time, and finally destroyed him from a distance.
Fight 2: Chak ’Lok
Chak ’Lok is an “elite”, another type of alien, who are generally better fighters with better shielding than other types. Chak’Lok is an “interrogator” which is as bad as it sounds.
I used a similar strategy for him; I created a pile of “batteries” in one place, and then detonated it when he went by. This reduced his shielding to the point where I could finally destroy him, and again, I used a “skewer”. In this case, I brought my own skewer into the fight with me, and then used the second, provided skewer to recharge my own, usually the only way to do so.
Chak ’Lok is the first boss I met who had limited invisibility, which meant I had to keep a “threat sensor” going at all times to fight him. It took several goes, but I eventually got him.
Fight 3: Bassus
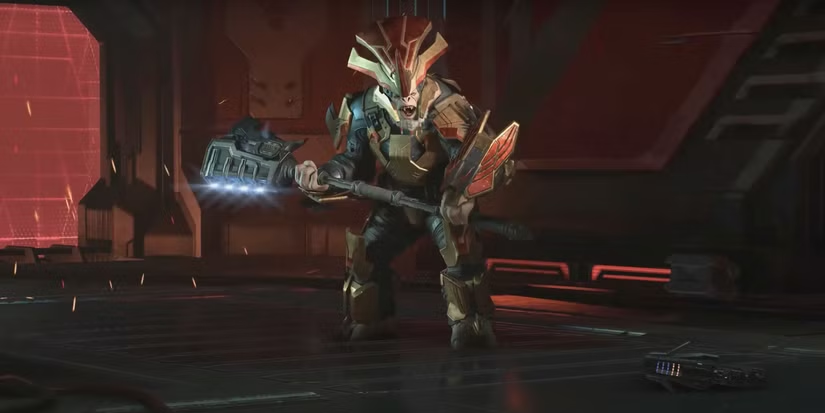
Bassus is another “brute chieftain”, similar to Tremonius, but he prefers to use a “Gravity Hammer”, which is a powered melee weapon; he needs to get close to you to use it.
To kill him, I used the “skewer” again, retrieved from the previous battlefield, and I boosted the capacity with a skewer found during the fight, but I also used another weapon, for which I had to kill an “HVT” (high-value target) to get, called “Thav ‘Simbarim”, a Sangheili alien. The Sangheili are “saurian”, and are Elites, generally well shielded and wielding high-technology weapons. By myself, that would have itself been a difficult fight, but the HVT’s are located in the open world, and thus you can use various strategies to kill them. In this case, I called for a “Warthog”, basically an armored jeep, and filled it with AI marines. The standard marines are usually not smart enough or well armed enough to deal with higher powered aliens, but all mine were armed with “power” weapons, like “Sniper Rifles” and “Rocket Launchers” which are made available to you at Marine “Forward Operating Bases” after you gain a certain amount of experience. The Banished have some trouble firing on moving targets, so I drove the Warthog FAST and kept it moving and my soldiers eventually killed the HVT and all his protectors, despite his superior weapon. The weapon is the “Arcane Sentinel Beam”. The “Sentinel Beam” is a weapon used by the “Aggressor Sentinels”, usually just called Sentinels, who are sentient robotic drones created by the “Forerunners”, the ancient aliens that created the Halo rings, and who are usually allied with the Banished. The Forerunners’ technology is superior to that of either the Banished or humanity, and their weapons use a type of power called “hardlight”, which is generally the most powerful type of anti-personnel weaponry. The “Sentinel Beam” fires a rainbow-colored beam that burns through shields and does devastating damage on unshielded foes. Their main problem is that places to recharge them are rare, so like the “Power” weapons, you can usually only use them for a short time after you find them, at least early in the game. The “Arcane Sentinel Beam” is a special weapon, even more powerful than the normal Sentinel beam, although it has less of a charge.
This, to me, was the 2nd easiest “boss fight” in the game; I kept my distance, used the “Arcane Sentinel Beam” to burn Bassus’ shields off, then killed him with the skewer.
Once the augmented weapon of an defeated HVT is found, you can then pull such a weapon from the standard sources for the marine “Forward Operating Bases”, which you also have to clear. You can’t, however, recharge them.
(I had an AWFUL lot of fun filling a “Warthog” with five marines ALL armed with Arcane Sentinel Beams. They make short work of anyone they come across, flashing them with 3 or more rainbow beams of hardlight at once!)
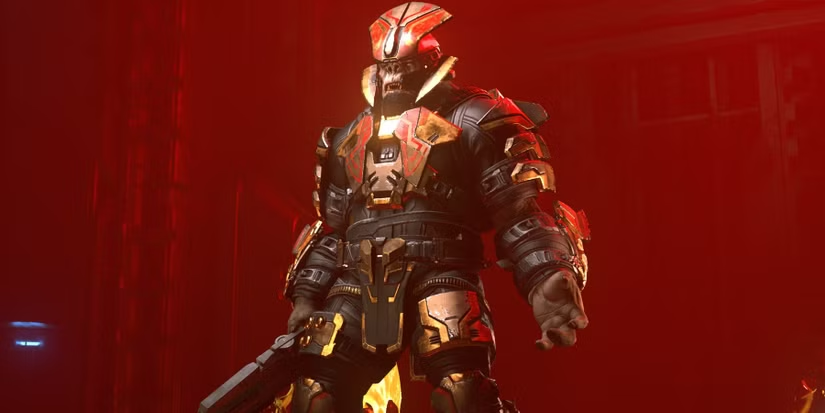
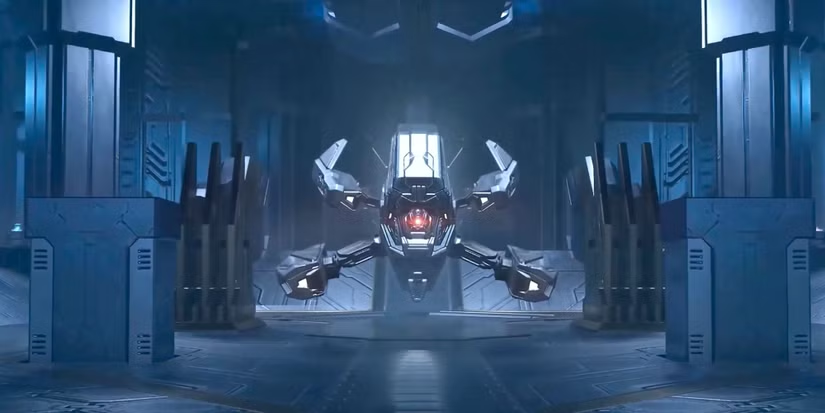
Fight 4: Adjutant Resolution
This is the easiest boss fight IMHO.
“Adjutant Resolution” is a floating AI, a “monitor” that is meant to keep the Halo ring running. When he finds out your goal is to destroy the ring, he loads up with a secondary weapons/armor system and tries to destroy you. But he’s fairly slow, and not that intelligent. His main weapon is devastating, but he can’t use it all the time, so you just time your attacks to the right moments. You need to destroy each of his four “arms”, in turn, and then pour on the damage once they are destroyed, but this is not terribly difficult, especially if you can sneak a “Sentinel Beam” in with you; the fight area included a charger for it, although it doesn’t provide the weapon itself.
Fight 5: Tovarus and Hyperius
This was, by far, the most difficult, and thus most maddening, fight for me. Tovaris and Hyperius are Brute Chieftans and brothers. They have very strong shielding and weapons, and are protected by a large number of lesser Banished. Your only advantages are that they are stuck in a defined area, technically “open”, and thus you can use anything you can find in the area against them, including vehicles. However, you can’t bring any of your own marines to the fight.
Both brothers have unlimited shots for their weapons. Tovarus fights on foot, but has a jet pack for short bursts of flying He uses a “Scrap Cannon”, which fires large amounts of metal at you, often from long distances.. Hyperius has a “chopper”, or an alien, armored, weaponized motorcycle, which has powerful plasma cannons. Eventually he will abandon the “chopper” and also move around on foot, with a jet pack as well, and he is equipped with a “Ravager”, a long-range plasma weapon, and a “Sniper Rifle”, a “Power” weapon, with nearly unlimited range and an almost guaranteed one-shot kill if he hits you or your vehicle, if you try to use one. The ONLY defence when he uses the sniper rifle is to be in motion when he fires it, or to have him off balance from firing YOUR weapon.
I used the following strategy:
In a ruined space ship with a “balcony” overlooking the battlefield, the game has left you a “Rocket Launcher” and a “Hydra”. The “Rocket Launcher” is basically a bazooka, and is a “Power” weapon, with only four shots and no way to recharge it. It is extremely powerful, but the rockets are slower than bullets or plasma shots, and so can be avoided by a smart adversary, and in a tight room, the blowback can also destroy YOU! The “Hydra”, although technically not a “Power” weapon, fires multiple bullets at once per shot, and so can be recharged at a basic weapon recharger. It fires one shot at a time, and has to be reloaded every few shots, and has a limited magazine, but each shot is quite powerful and can be set to track the opponent. Using the grapple, you can make it to this hidden resource. If you are wandering around the battlefield, the brothers will both go after you, but if you are stationary, and covered, they will take turns, generally Tovarus taking the first turn. So, I “grappled” to the balcony area and quickly moved in and out of the attached room, peppering him with shots from the Hydra. Eventually, Tovarus was pissed off enough to follow me there, at which point I picked up the Rocket Launcher and VERY CAREFULLY hit him with four solid shots at sufficient distance to not kill me as well, which was not easy. At that point, his shields are mostly gone, and I had sufficient Hydra shots left to finish him off. I also had, at that point, upgraded my own “Power Wall”, a type of stationary shield, to a point that it would withstand several shots from his scap cannon, so I could throw one out and fire through it, keeping me safe for short periods. I also hit him with several grenades. Finally, I brought him down.
Unfortunately, that took every shot I had with those weapons. At that point, I was able to grab the “scrap cannon” that Tovarus had dropped, which is a powerful weapon, but it doesn’t have infinite range and speed, whereas Hyperius had abandoned his “chopper” at that point and was taking pot shots at me with the Sniper Rifle, which, if he’d hit me, would kill me instantly, from ANY range. As I understand it, he only has that weapon when playing at Legendary, but man, it sucked! I tried SO many things to kill him, and failed over and over again. I could sometimes, if I went for him first, burn him off the chopper with the machine gun from a stationary Warthog, but as soon as he dismounted, he’d pull out the Sniper Rifle and “pot” me. Also, once the first “brother is killed”, a group of backup brutes are also put into play, making moving around the battlefield that much harder.
I got lucky. Halo has pretty decent AI for its characters, but there was a flaw: there was a “post” on the balcony that I could use to put between myself and Hyperius, and for some reason, although the post was very thin, he couldn’t “see” or sense me through it. It’s a bug, for sure! But once I found it, I could station myself with the “post” between us, and then shoot him continuously without him firing back! So, I had to jump off the “balcony”, find another rifle from one of the backup brutes I’d killed on the battlefield, then get BACK up on the balcony and position myself perfectly (and wait until Hyperius was in the perfect spot as well), and then burn him down with the rifle and Tovarus’ Scrap Cannon (which has infinite ammo while he used it but limited ammo when I did)! In this case, I found ANOTHER Hydra, took it back with me, then blew Hyperius away.
Fight 6: Adjutant Resolution (again)
Still not a terribly difficult fight. 2nd easiest. His weaponry is a LITTLE better this time, and he has a few Sentinels on his side. The Sentinels are pretty easy to shoot, as long as you aren’t fighting Adjutant Resolution at the same time, and there is a LOT of cover around, plus there is a Sentinel Beam ready to be picked up during the fight, and a charger for it (in a different area). You are faster than Adjutant Resolution, so it’s not too difficult to keep out of his weapons’ site while you need to.
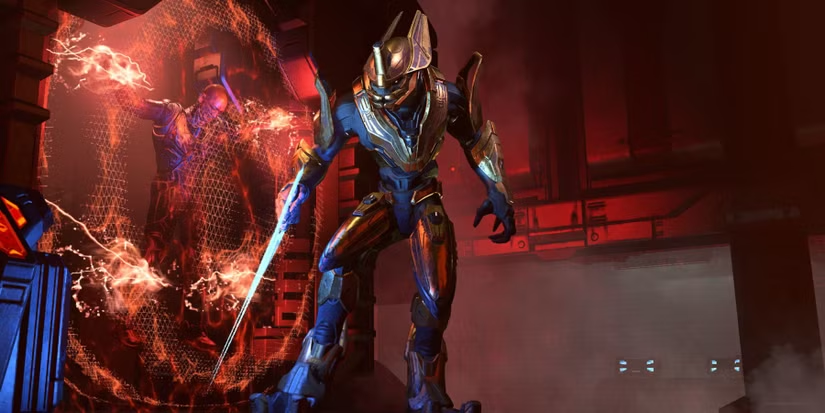
Fight 7: Jega ‘Rodamni
This is a claustrophobic fight, but not that difficult. Jega ‘Rodamni is another Sangheili “Elite”. He only uses melee weapons, so although he’s pretty tough, you can kill him with ranged weapons without too much difficulty. He has invisibility, so you need to keep a threat sensor going, but if you can get off the top floor onto the bottom, and get your threat sensor going, you can watch where he comes down to the lower floor and make certain a grenade or two is waiting for him. Then you can hit him with a Ravager (provided before the fight), and maybe a Plasma Carbine, until he goes down. Probably the third easiest fight.
Fight 8: Escharum

Escharum is a high-level brute, and he’s your primary opponent through most of the campaign. He’s the leader of the Banished on this Halo ring, and Jega ‘Rodamni is his friend and hired mercenary. At this point, Jega has captured your Pelican Pilot and is torturing him (not in a graphic way) to get you to the fight with both him and Escharum. Escharum provides most of the “cutaway” scenes that explain the plot for you, along with the Harbinger (see Fight 9).
Escharum is tough, although injured, and has a Scrap Cannon that will make short work of you if you don’t keep moving and out of his line of sight. And he and Jega have put together a bizarre setup that puts a shield around him during the second part of each phase of the fight: a forcefield around Escharum transmits pain to the pilot if you hit it! So you have to keep in constant motion, out of Escharum’s physical reach and out of the line of sight of his Scrap Cannon, while destroying the power sources for his force field in the second half of each phase of the fight! But he’s not super fast, so you lead him AWAY from the power sources, then rush back and destroy each power source before he can follow. After doing this four times, you can then blow him away, most easily with his own Scrap Cannon, as he drops it and wants to kill you melee with a “Gravity Hammer” at the end, which is basically a powered sledge hammer. Keep your distance and hit him with the Scrap Cannon; once you have it firing on him at enough of a distance it distracts him enough to keep him from jumping on you.
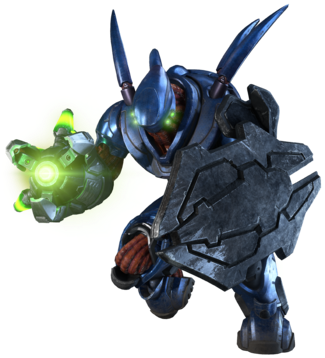
Fight 8: The Hunters
Although not technically a “boss fight”, there are a pair of “Hunters” protecting the foe in the last fight, the Harbinger. You have to kill the Hunters first, and it’s a tough enough fight to be worth documenting.
I hate the Hunters! They are a “colony” alien; they are creatures made up of a mass of “worms”, they are VERY tough, and they have awesome plasma weapons, both a rapid fire “machine gun” and a slower plasma “bazooka”. They always travel in pairs. In this fight, you are confined in a fairly small room with them. It takes a LONG time to kill one, even with a Sentinel Beam or a Rocket Launcher, and they have a tendency to slap away the grenades you throw at them! They aren’t THAT hard to kill using a Sniper Rifle in the open areas, but in a closed area they are hard as hell! This is the second hardest fight IMHO.
The room itself provides a Sentinel Beam, if you can get to it, and a charger for it. It also provides two Skewers, so you can use them serially, or charge one up with the ammo for two; there’s no charger for them.
I had a couple of advantages: since we’re near the end of the game at this point, I had fully upgraded my personal “Shield”, my Grapple, my “Drop Wall” shield, my “Threat Sensor”, and my “Thruster”, basically limited rocket-assisted movement.
The Hunters will generally attack one at a time, if you are stationary. My upgraded personal Shield can take a single hit from the hunter “bazooka”, most of the time, but only about a second of the “machine gun” before it burns through, so motion is key until you can get a Drop Wall up. A fully-upgraded Thruster can give you invisibility for a couple of seconds when used, and you can use it twice before you have to recharge it. So my strategy was to pick one of the Hunters, hit it with everything I could, at least a grenade and a Skewer bolt, then run and fire my Thruster once or twice, giving me invisibility to get into position. I moved to a covered area near the back of the room, where a convenient pile of boxes provides a shielded nook. I run, invisibly, into that area, then put out a “Drop Wall” shield, which, fortunately, works very well against the Hunters’ plasma weapons, at least for several seconds. I then fire off a Threat Sensor, which will allow me to tell the difference between the two Hunters’ through their damage. I ignore the second, undamaged Hunter, and wait for the Hunter that I’ve already damaged to get into my sights. I then lay on grenades and shots from the Skewer; generally 4 skewer shots will kill the first damaged Hunter. At this point my Drop Wall has played out, so I jump up on top of the shielding boxes and hope that the second, undamaged Hunter doesn’t hit me with the plasma “machine gun”. If he uses the “bazooka”, I can take the hit, long enough that my Drop Wall recharges and I can put up another one. If not, I have to move, and use the Grapple and the Thruster Invisibility until I can get into a good position again. I need to get my final four Skewer Shots into him pretty quickly, and then pepper him with whatever I have left (Sentinel Beam, hopefully!) and any remaining grenades. I have, several times, brought him him down completely out of ammo!
Fight 9: the Harbinger
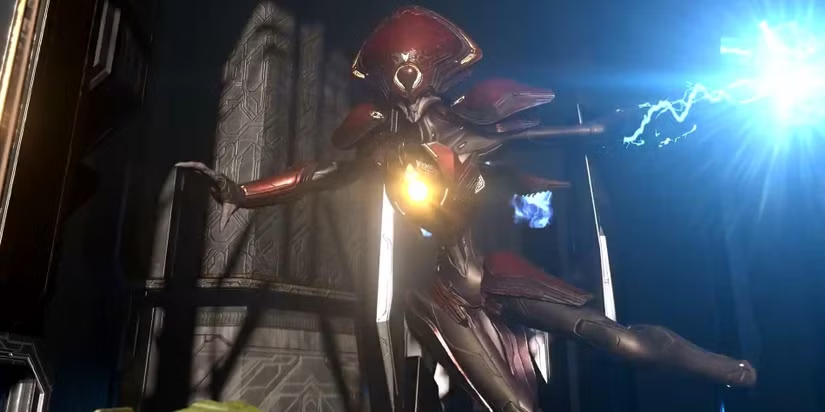
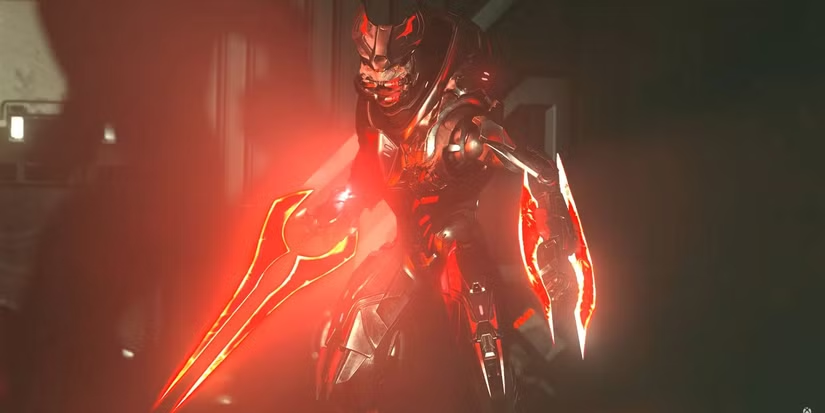
The Harbinger is yet another alien, and through her various shouts of recrimination at me (it’s a long story from Halo lore!) we find that she is a member of a species that the Forerunners imprisoned in the Halo ring a long, long time ago; creatures even older and more technologically powerful than the Forerunners! Her job is to release the “Endless”, evidently others of her species, and she has teamed up with the Banished to do so, providing them with better technology in exchange for their help (and the chance to kill my character, the Master Chief!).
She can fly, can teleport, can fight with you physically (although not that well), and has some kind of stand-off weapon that hits you with energy shots fired from a different point than her, and which can burn through your Drop Wall very quickly if you aren’t paying enough attention.
There are several phases to the fight, and she has a lot of Banished around to help her during the first part of each round. Luckily, the arena provides both Sentinel Beams and “Cindershots”, basically an energy bazooka that is powerful but that you have to bounce off something before it will explode, so you need to fire it with a little strategy in mind.
I “cheated”, a bit. One of the goals I had for completing the game was to gather all twelve of the “Skulls”, a longstanding Halo easter egg system. The “Skulls” do mostly pretty random things, like make some of the funny statements from the AI characters more probable. Some of the make the game more difficult, for instance, forcing you to play more “melee” in order to recharge your personal shield!
But the last Skull, the “Bandana Skull”, has a positive effect: it takes away all your “Cooldowns” (the time you must take to let a weapon you are using "cool down"), and gives you “infinite” ammo (you still have to reload). The Bandana Skull is VERY difficult to retrieve; you basically have to get through two large rooms full of Banished without killing or damaging a single Sentinel. And unfortunately, if a Sentinel is accidentally killed even by “friendly fire”, that will invalidate your attempt. I must have tried 20 times in a row to do that on Legendary level, finally swinging through the rooms like Tarzan using my Grapple, without killing ANYTHING, and was never able to get that skull. However, the Skulls are a little bit different than most of the objectives in Halo Infinite; whenever your character collects one, while playing at ANY level, you keep it for ALL your Master Chiefs! So, at the end of playing at Legendary, I started a new game at Easy level, speed running all the lower missions, and then just running directly through those last rooms without killing anything! And since the aliens were all playing at a lower level, none of them killed any others of them, and I got the Skull!
Armed with the Bandana Skull, I logged BACK into the Legendary game, and I used the following strategy: I waited until I could see which door was closest to me that would disgorge some of the Banished fighters, in the first wave, and I caught them INSIDE the small room that held them and pasted them with shots from the “Cindershot”, clearing them out of it. I then moved INTO their cove, which kept the door functioning, then put up a Drop Wall at the entrance. They could then only attack me from directly in front of me, which allowed me to concentrate my fire in one direction. This worked for both the Banished AND for the Harbinger and her energy weapon, as long as I was adept enough to put up a new Drop Wall whenever needed, and before something could hit me while it was down! But the Bandana Skull allowed me to put up a new one whenever I needed to.
This strategy worked almost perfectly until the final wave of Banished, when a Brute Chieftain comes after me and is not put off by the firepower of the Cindershot; I can’t kill it before I have to reload it, which allows the Chieftan to run through the Drop Wall (which only stops weapons fire) and hammers me with his Gravity Hammer. The Sentinel Beam will discombobulate him, but not long enough to kill him, and if you are on the same level as him when you reload, he will pounce on you and destroy you.
So, I have to wait until the last wave, kill everything up to the Chieftain (and in this case, one Blue Elite as well), then quickly get out of the “alcove” and get enough distance on the Chieftain to hit it over and over again with the Sentinel Beam, after taking out the Blue Elite, and continually changing levels. At which point the Harbinger comes after me again, but I was able to take her down by throwing out Drop Walls almost continually, and hitting her with the Sentinel Beam over and over again.
Got her!